Saturday, December 20, 2014

Quick Eggnog


A festive glass of eggnog goes perfectly with holiday cookies!


I look forward to the holidays every year, not least to drink my favorite winter treat: eggnog! And I love trying everyone’s Special Eggnog, or their uncle’s family recipe or whatever, but I always go back to this one that I learned as a kid, made without booze. Have no fear, though, just add your booze at the end and it is a perfect adult treat!


Now I know this recipe calls for a raw egg. However, the action of the blending does change the molecular structure a bit, so it is slightly less than raw… but if that freaks you out, go find a 50s recipe where you have to separate the eggs, beat the yolks separately, incorporate the egg mixture with milk over ice, and so on and so on. If not, get out your blender and whip this up in a snap! I guarantee (if you don’t die of salmonella) you will enjoy it ;)

I'm not kidding - all right in the blender!

Per serving:
·         1 egg
·         1 cup milk
·         2 Tbsp sugar
·         1 tbsp vanilla
·         1-2 ounces rum, whiskey or brandy (my Dad uses Myer’s Rum AND Brandy!)

Pour the first 4 ingredients into blender; blend for 30 seconds. Add booze and pulse one second to incorporate. Serve with grated nutmeg on top. 

If you're not lucky enough to have cookies given to you as a gift, make your own - here is a recipe for eggnog cookies!

Oh and Happy Holidays :)

Wednesday, November 26, 2014

Corn Pudding


This is a recipe we have traditionally eaten every year at Thanksgiving in my family, and when I was little, it was one of the first things I was allowed to make all by myself. I actually prefer it in summer with ham, but it makes a great side to just about anything, and you can add salsa or use pepper jack cheese to spice it up, or add scallions or caramelized onions or bell pepper for more flavor. You can also sneak in crumbled bacon, because, well… Bacon.

If I happen to have crème fraiche around, I will use that instead of sour cream. You can also play with the amounts of ingredients and this dish can vary between nearly corn-bread-like to more of a savory custard. It’s easy and tasty, so have fun with it!


2 cups frozen whole kernel corn (or drained canned corn)
1/3 cup butter, melted
2 eggs, beaten
2/3 cup yellow corn meal
1 tsp salt
1 cup sour cream (substitute crème fraiche)
1 cup diced Monterey jack cheese
Optional: ¼ to ½ cup of: salsa, sliced scallions, crumbled bacon, diced bell pepper or caramelized onion.

Thaw corn. Place in large bowl and add melted butter, beaten egg, corn meal, salt, sour cream and cheese. Pour into buttered casserole (1 ½ quarts) and bake at 350 for 45-60 min or until set and golden brown.  6-8 servings


Sunday, November 23, 2014

Mashed Potatoes for a Crowd

How to make mashed potatoes for a crowd:

One vat of mashed potatoes, coming up - WITH A SMILE!


Helper = the only way to do it!

Oooh yeah, look at all this compost!

MASH! 

An immersion blender may help...


  1. Buy one russet potato per person and scrub them clean
  2. Enlist your helper to peel them – having a “race” is great for motivation, plus you can surreptitiously check your phone while they work, which is just like management in real life!
  3. Boil em up for about 30 min in the biggest pot you can find. Cauldron? Perhaps.
  4. Let cool, or else OUCH! If this is Thanksgiving, this is a good time to schedule a fight with your ex. Plan for at least an hour. Drain.
  5. Mash the heck out of the potatoes. Get your aggressions out!
  6. Melt some butter – about 2 Tbsp per potato, but use your judgment. Less if you plan to eat them, more if you plan to induce heart failure in elderly relatives.
  7. Combine melted butter and milk (about ¼ cup per potato, to taste and desired thickness) into the large pot. Incorporate with potatoes.
  8. Salt and pepper to taste. Note: fresh ground pepper is really the ONLY way to get radical with mashed potatoes. OK that and maybe a parsley garnish, but please, no Sriracha sauce or truffle butter or foie gras! Leave the innovation to the TV cooking contests and nobody will get hurt. Well, that depends on step 4…
  9. Serve with a smile and ENJOY!

Saturday, November 8, 2014

Lazy Paella

How much do you love the 70s/80s? Remember how we were supposed to Have It All? As a little girl, I very clearly knew I was going to have a Career and work in an Office and have fabulous Work Outfits, but also come home from said Career and Cook Fabulous Meals and maybe also Be an Opera Singer or Photographer or something Amazing, you know, in my Spare Time. Perhaps you saw the same commercial for Enjoli? Perhaps you, like me, are still trying to figure out how to make it all work… or at the very least, how to use hot rollers…

 Anyhow, in my quest for self-actualization (aka dinner), I pulled out my copy of the brilliant 1974 lifestyle guide / cookbook that is Better Homes and Gardens “After Work Cookbook”  and found this tasty-looking dish in the “make-ahead main dishes” section. I’d never made paella, and in fact I thought it was the kind of thing you would have to actually Be from Spain to make, and that it would take Hours… but what REALLY attracted me was the Dansk casserole in the picture. Like, Ohmygod, I said (because the 80s were eclipsing the 70s at that moment), my MOM has that dish! I can make this!

Oh no, conflicted – the Dansk casserole dish was WAY too big – come on, I’m only feeding two people here! Fortunately, I had another Dansk vessel to substitute: my Kobenstyle paella pan. Saved!


 As I assembled the dish one night after dinner (to heat and eat the following, as instructed), I told my daughter about eating paella in Spain and how terrified I was of all the tiny, beautiful sea creatures that dotted the massive bowl of saffron rice, and how I picked around them, eating only the rice and carrot pieces because I didn’t know how to get into any of the shells, and because octopi are Just Too Chewy. (See, vegetarians, this is what you are doing to your children – turning them into socially awkward eaters who can’t get the hang of seafood till they turn 30!) My daughter said not to put in any shrimp or she wouldn’t try it. Also, canned mushrooms? Gross. I used fresh, and lightly sautéed them in butter. Because butter always wins.


The other thing is, I just used what they now market as “chicken tenders” because I’m still not an expert at breaking down chickens. And because I was trying to use less fat, I steamed the chicken bits. Tasty, but I cannot claim they are attractive in any way. I see now that I should have perhaps gone heavier with the paprika for color. Forgive the food styling, or lack thereof, which just proves that you can’t actually have it all. Rats.


Yes I used onion soup mix, but I can't deal with canned mushrooms. I know, I know!

Steamed chicken: tastes great, not sexy at all. Sad face.


I used onion soup mix, because the recipe told me to be "Lazy" and do that, but if I were to make this again, I’d use garlic and onions, like real ones, and maybe some oregano. Oh and what the heck is saffron rice? Since I’d never heard of it, I dumped in a teeny bit of real saffron because I hear that’s how they make it in Spain (where they also often use Land Snails, but that’s another story entirely!).

So I enjoyed finally using my paella platter, but I can’t say this was the Best Thing Ever. I do think it needed the shrimp, and they need to be spicy. I’m thinking about variations, and about the Dansk casserole and what to make in that one. Oh, and I’m still singing the Enjoli commercial because some myths just simply refuse to die. 


1 3-pound ready-to-cook broiler-fryer chicken, cut-up
2 Tbsp. cooking oil
1 ½ cups chicken broth
8 ounces shelled shrimp
1-8 ½ ounce can peas, drained
1 6-ounce package saffron rice mix
1 3-ounce can sliced mushrooms, drained
½ envelope onion soup mix (1/4 cup)

Advance preparation: brown chicken in oil. Season with salt and pepper. Mix remaining ingredients; spread in 3-quart casserole. Top with chicken. Sprinkle with paprika, if desired. Cover; chill ip to 24 hours.

Before serving: Bake, covered, at 350 degrees about 1 ¼ hours. Makes 4 servings.

Sunday, October 5, 2014

Banana Whip


Inspired by the Art Deco Society of California’s annual amazing time-travel picnic the Gatsby Summer Afternoon, I decided to research 20s recipes because I usually make things that are much newer - in the realm of my own experience or just before it, for the most part. But how different could it be? I sought out my 1927 “Piggly Wiggly Cookbook” (from the popular grocery chain of the same name, which dates back to 1916), to find out.


WELL! Things were different. First of all, the “name brand” ingredients are totally baffling to me, and they are often listed out by name only, with no further explanation. I had to research most of them to see if I could even concoct the majority of the creations. What was Snowdrift? What was Fluffo? (both are shortenings, it turns out.) Next, cuts of meat were not familiar to me either, and all vegetables were presented canned. (All hail the new technology of canned foods, right?) Then many of the titles confused me. What is a Junket? Hmmmm. Basically, nothing appealed till I found a somewhat simple chilled dessert made with bananas and pistachio nuts. Hey, that almost sounds like a new foodie pairing, doesn’t it? I can just see the next artisan doughnut: banana batter with pistachios and bacon bits…

Ingredients - shelf-stable whipping cream is NOT recommended BTW


Anyhow, seems like when you cook anything from the 20s, the first step is to get out the double boiler. CRASH! (Sorry, neighbors!) I suppose if it were a recipe from the 80s, you would microwave it, but just YUCK . So you heat up the bananas and sugar and lemon juice and then it gets flavored, mixed with whipped cream, served in cute little glasses and topped with chopped pistachio nuts.


On a hot afternoon I prepared this for after dinner and it was surprisingly tasty – I would even make it again! I don’t think you need to line the glasses with sliced banana – I did, but it was more than necessary. Try it – you’ll like it so much you might even find yourself breaking into The Charleston….


Banana Whip

3 Bananas
1 cup heavy cream
1/3 cup sugar
Few finely chopped pistachio nuts
Pinch of Leslie’s salt
1 Tbsp. lemon juice
Folger’s vanilla

·         Cooked mashed banana pulp in a double boiler with sugar and lemon juice until scalded. Add a few drops of vanilla and a pinch of salt and cool.

·         Whip cream until firm, and gradually beat in banana mixture. Set mixture aside to chill.


·         Pile high in sherbet glasses with a sprinkling of finely chopped pistachio nuts on top. If you wish, line the glasses with slices of banana before filling. This serves eight people. 


Heat the bananas in a double boiler

Chop the pistachio nuts


Serve!

Friday, September 5, 2014

Apple Chutney

fresh apples plus pantry staples is all you need!


I have made chutney before, (apricot – see it here) and loved it, but never – I repeat NEVER – as good as this! If you like chutney, make this immediately. You will either DIE or THANK ME or both! You can also thank the goddess Mollie Katzen who wrote the hippie bible, The MoosewoodCookbook, in 1977.


It also helps if you have lots of tart apples from your best friend’s tree (thank you Misty!) because there is nothing like local produce. I thought of applesauce, but why not take it one step further and have this super yummy condiment for your sharp cheddar sandwiches or to top your pork chops! And it can’t get any easier, you don’t even have to peel the apples. Get picking and stewing!

it helps to have a helper to grate the ginger

Chop - don't peel! EASY

Stew: throw ingredients in a pot, apply heat and get YUM!

Chutney makes a perfect topper for pork chops. (Fresh corn on the cob doesn't hurt either.) OR try it on a sandwich with salami and cheddar cheese! YUMMMM!!!

Ingredients: 
1 1/2 pounds apples (you can use a combo of peaches, pears - any stone fruit)
1 clove garlic, minced
1 Tbsp grated ginger root
1/2 cup orange juice
1 tsp cinnamon
1 tsp ground cloves
1 tsp salt
1 cup honey (to taste)
1 cup cider vinegar
cayenne to taste

Method:
1. Coarsely chop the apples. (You needn't peel them) ** YAY!
2. Combine everything in a heavy saucepan. Bring to a boil, then lower to a simmer.
3. Simmer, uncovered, stirring occasionally, 45 min to 1 hour. Cool before storing in a jar.

Friday, August 29, 2014

Tuna Casserole Makeover


I love tuna casserole – I mean, is it even possible to have grown up in the 70s and not love tuna casserole? I can’t remember if this is something my mother ever made, but I know I had it at friends’ houses and it was always a favorite. I’ve been making it for years using the recipe from the back of a package of egg noodles and it’s always yummy. But… what if you don’t want a can of soup? What if you want to reduce the fat in the dish? I know, radical moves, man… but it can be done!


First, no canned soup. Toss the tuna with lemon and some olive oil for brightness, and then make a heavenly cheese sauce in place of the soup. You will be so happy, you’ll never go back to The Old Ways. Oh all right, we’ll keep the frozen peas. Frozen vegetables retain more of their vitamins than canned and don’t contain preservatives, so they get a pass. (Gotta keep the mid-century feel somehow.)


Noodles play a big part in many casseroles, especially this one. Heck, some versions are called Tuna Noodle Casserole, so you see they’re not messing around. You can use traditional egg noodles, but I like whole wheat pasta and I like to vary the shape, from spirals to penne to shells. Go crazy… it’s like the art you made in kindergarten with pasta and glue, only you eat it. (You didn’t eat the glue, did you? Oopos sorry.
sautee the onions first...

Finally, you can make this with canned salmon if that’s what floats your boat, and I must say that is a mighty tasty version.  I might consider adding chopped scallions or chives next time. Who knew tuna casserole was going to turn out to be such a blank canvas! Whip some up for dinner today and let me know how you like it.

12 oz noodles
Salt and pepper
3 (5 oz each) cans tuna (in water) drained thoroughly
4 tbsp olive oil
2 tsp lemon juice
½ onion, chopped fine
1 ½ cups low sodium chicken broth
1 cup ½ and ½
6 oz shredded cheese
1 cup frozen peas
1 cup panko breadcrumbs
2 Tbsp butter

1.     Preheat oven to 425 degrees. Bring 4 quarts water to boil on stove top in Dutch oven. Add noodles and 1 tsp salt and cook, stirring often, until al dente. Drain pasta and set aside.
2.       Combine tuna, 2 tsp oil, lemon juice ¼ tsp salt and ¼ tsp pepper in a medium bowl and flake tuna into chunks with a fork; let sit for 10 min.
3.       In now-empty pot, heat 1 tsp oil over medium-high heat until shimmering. Add onion and cook till translucent, 6-8 min. whisk in broth and ½ and ½ and bring to a simmer for 2 min. Remove from heat and whisk in shredded cheese, a handful at a time, till melted. Stir in cooked noodles, tuna mixture, peas and ½ tsp salt and ½ tsp pepper (to taste).

4.       Transfer mixture to casserole or baking dish. Toast panko breadcrumbs in small pan with melted butter and sprinkle on top of casserole. Bake until sauce is bubbling around edges, 12 to 14 min. Let cool slightly before serving. 


toasting breadcrumbs with butter to top it


Sunday, August 10, 2014

Carrot Muffins


Yes, I have made carrot muffins before (with a recipe for carrot cake, see it here) and those were YUMMY but these are… I don’t know, different? Take my word for it, you want to make these. AND you can eat more because they are even better for you than my previous version. ½ whole wheat flour! Just over 200 cal each! Your whole house will smell amazing, and when they are hot just out of the oven, there is NOTHING like them. What are you waiting for? Try these NOW!!!


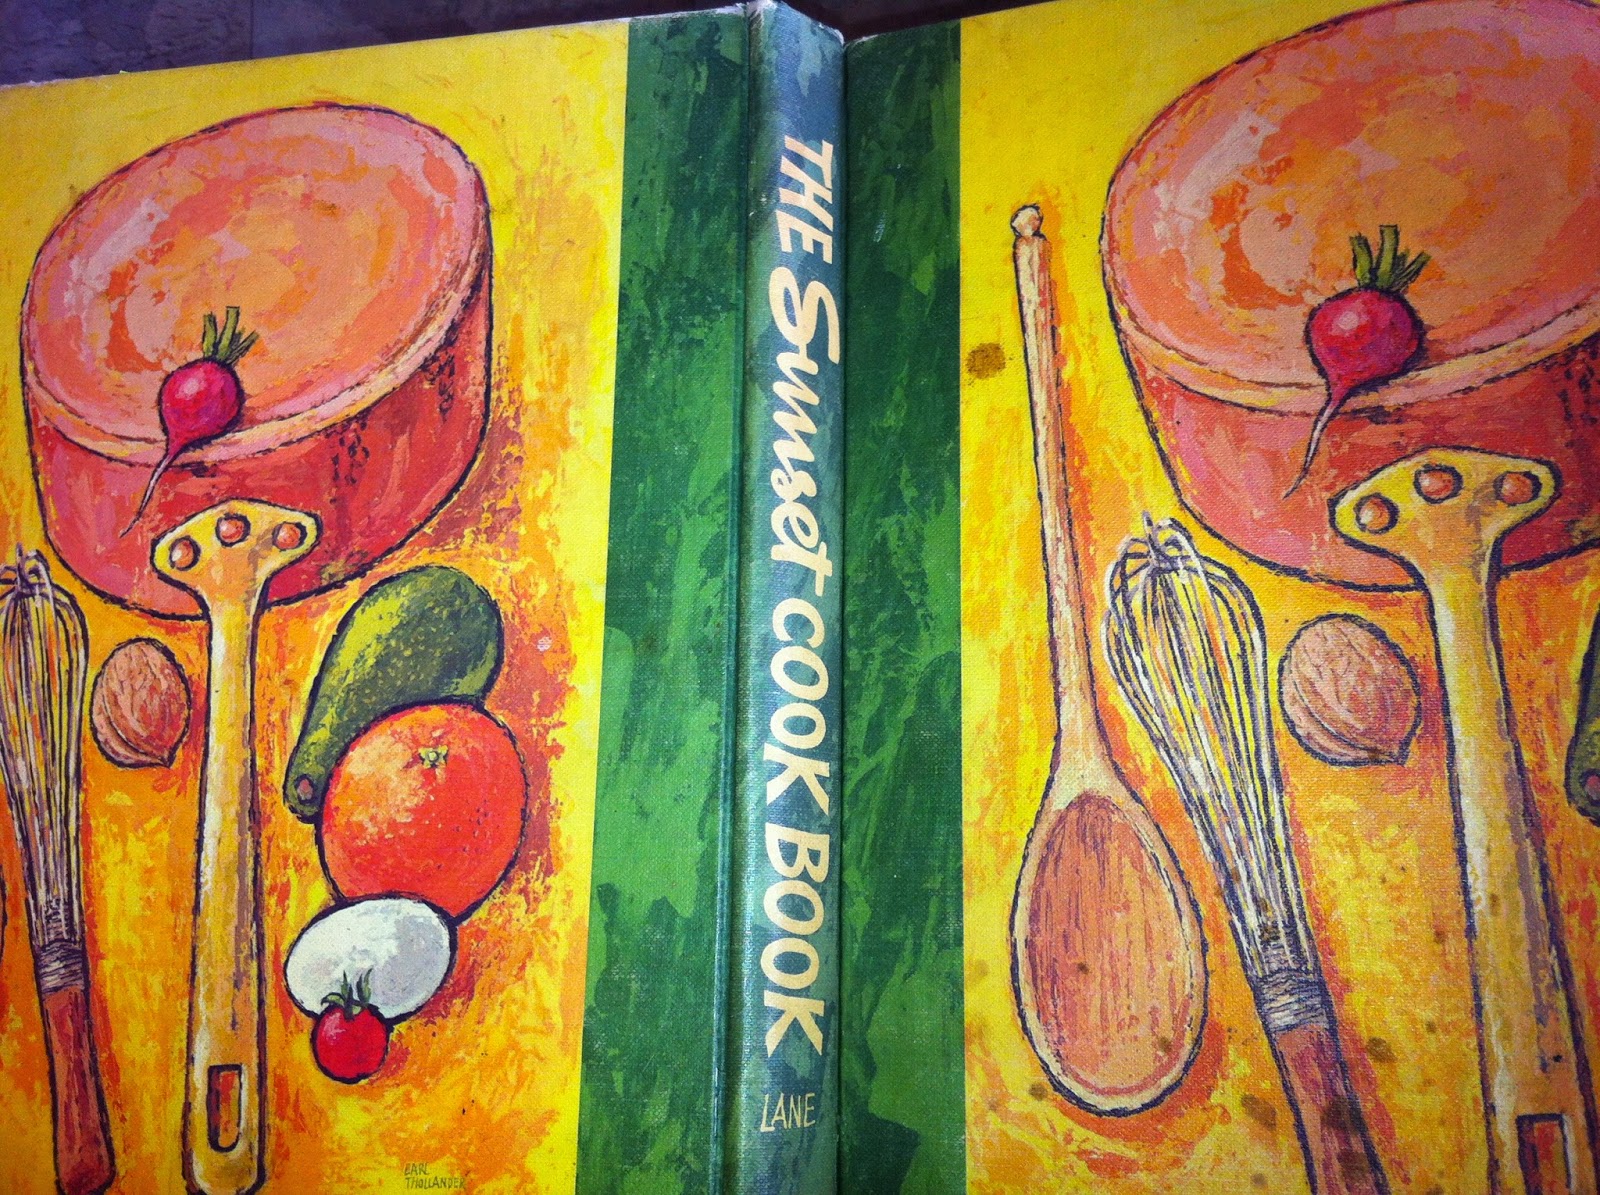
I saw a version in the new Sunset Magazine (yes, I do read it as well as collect the old books!) for “Miracle Carrot Muffins” and it reminded me of an old recipe from 1960’s “The Sunset Cookbook” in particular because I wanted to make healthy carrot muffins, but I hate raisins. I recalled a yummy recipe for Prune Bread, but… well, we’re not always in the mood for prunes, I get it. Instead, dried cherries. And while they sound great with cream cheese and orange zest, you seriously do not even need that. Seriously.
This prune bread is really good, but these muffins are perhaps more "accessible"


The technique is the same: soften the dried fruit in hot water, but this new version is easier and (shocking) you don’t even need a mixer. Got totally off the grid, man!

Grating carrots smells SO GOOD! but... use a food processor, duh!

No mixer, just "whisk" the flours. OK.... 

Softening the dried fruit while melting the butter - this smells HEAVENLY and very fall-like. Who needs scented candles???

Going into the oven...


Ingredients:
1 1/3 cups sugar
¼ cup butter (in you want to make these vegan, use margarine)
1 ¼ cups shredded carrots (food processor, hello!)
1 cup dried cherries (or raisins, eww)
1 tsp. each salt, cinnamon, and ground allspice
¼ tsp. ground cloves
1 cup each all-purpose and whole wheat flour
1 tsp. each baking powder and baking soda
4 oz cream cheese
1 Tbsp. orange zest

Method: 
1.       Preheat oven to 375 degrees. Put sugar, butter, carrots, raisins, salt spices and 1 1/3 cups water in a medium saucepan. Heat over high heat, stirring occasionally, just until mixture comes to a boil.
2.       Whisk flours, baking powder and baking soda together in a medium bowl. Pour in warm carrot mixture. Stir to combine, but do not overmix.
3.       Spoon mixture into greased muffin cups.
4.       Bake until browned and a toothpick comes out clean, about 15 min. Let cool on a rack.

15 min later = YUM!


5.       Blend cream cheese with zest and serve with muffins (optional)

Wednesday, July 23, 2014

Grasshopper Pie x 2


Summer – it just screams pie, right? The call is too loud to disregard, clean eating efforts be damned. My excuse is, when I make a pie and take it somewhere, at least it won’t be in the house so that I am tempted to eat the whole thing. Plus, the purchasing of bizarre, mystery liqueurs to make a dessert is half the fun! Take it to a party and make other people eat it! Yeah, that’s the ticket…


There are many versions of Grasshopper Pie (including one made with ice cream which I did not try), but I naturally gravitated first to one made with Jell-O, my eternal love – that most versatile of sugary powders. I will share it with you, but I warn you – it’s not the best. It is entirely too sweet, and It has to be mixed with Cool Whip, for heaven’s sake. Yuck! Why did I think *that* would taste good? Cool Whip – something I had only heard about until I began recreating vintage recipes for this blog, something I didn’t even know where to find in the grocery store. (Tip: you find it in the freezer section. And it’s strangely weightless. And tastes of chemicals.) Still, this is the first version of the pie that I made, so here is the recipe, from 1988’s “Jell-O: Fun and Fabulous Recipes”. Yeah, some are more fabulous than others…


Looked great, but too sweet. Plus, shame on me for not making my own pie crust!


Next, I turned to a more trustworthy source, my Betty Crocker Cookbook from 1969. Thank you Betty for relying on the old stand-by, melted marshmallows, to create the filling in the pie! And remarkably, other than the marshmallows, Oreos and food coloring, this version of grasshopper pie is made with actual real ingredients – things I know! That are not highly processed! I had a good feeling about this.


First: the crushing of the Oreo cookies to make the crust. Yes, you could use chocolate wafers but I was making this pie for a party at my Dad’s, and the local store didn’t have the right kind. So, crush up Oreos (Fun! Place them in a plastic bag and go to town with a meat tenderizer! BANG!), then mix with ¼ cup melted butter, form in the pie dish and bake for 20 min, then chill.


The only thing tricky about this pie is that there are several steps and each one requires
chilling before and/or after. It doesn’t take long to put together, but the overall time will be a few hours  because of chill time. So plan to, you know, chill, between steps.


I succumbed to lure of green food coloring, essentially because it is an amusing novelty to prepare food that is green, but honestly you don’t need it – the crème de menthe provides a green tint. And speaking of food that is green, after these two pies, my next experiment was with another green pie, featuring a secret ingredient that provided the color and consistency: avocado! However, that is a story for another time. Spoiler: it is NOT something I will be making again. I’m kind of thinking of going back to fruit pies…


"The Best"? DON'T BELIEVE THE HYPE. This is a lie. Sorry...