Friday, August 29, 2014

Tuna Casserole Makeover


I love tuna casserole – I mean, is it even possible to have grown up in the 70s and not love tuna casserole? I can’t remember if this is something my mother ever made, but I know I had it at friends’ houses and it was always a favorite. I’ve been making it for years using the recipe from the back of a package of egg noodles and it’s always yummy. But… what if you don’t want a can of soup? What if you want to reduce the fat in the dish? I know, radical moves, man… but it can be done!


First, no canned soup. Toss the tuna with lemon and some olive oil for brightness, and then make a heavenly cheese sauce in place of the soup. You will be so happy, you’ll never go back to The Old Ways. Oh all right, we’ll keep the frozen peas. Frozen vegetables retain more of their vitamins than canned and don’t contain preservatives, so they get a pass. (Gotta keep the mid-century feel somehow.)


Noodles play a big part in many casseroles, especially this one. Heck, some versions are called Tuna Noodle Casserole, so you see they’re not messing around. You can use traditional egg noodles, but I like whole wheat pasta and I like to vary the shape, from spirals to penne to shells. Go crazy… it’s like the art you made in kindergarten with pasta and glue, only you eat it. (You didn’t eat the glue, did you? Oopos sorry.
sautee the onions first...

Finally, you can make this with canned salmon if that’s what floats your boat, and I must say that is a mighty tasty version.  I might consider adding chopped scallions or chives next time. Who knew tuna casserole was going to turn out to be such a blank canvas! Whip some up for dinner today and let me know how you like it.

12 oz noodles
Salt and pepper
3 (5 oz each) cans tuna (in water) drained thoroughly
4 tbsp olive oil
2 tsp lemon juice
½ onion, chopped fine
1 ½ cups low sodium chicken broth
1 cup ½ and ½
6 oz shredded cheese
1 cup frozen peas
1 cup panko breadcrumbs
2 Tbsp butter

1.     Preheat oven to 425 degrees. Bring 4 quarts water to boil on stove top in Dutch oven. Add noodles and 1 tsp salt and cook, stirring often, until al dente. Drain pasta and set aside.
2.       Combine tuna, 2 tsp oil, lemon juice ¼ tsp salt and ¼ tsp pepper in a medium bowl and flake tuna into chunks with a fork; let sit for 10 min.
3.       In now-empty pot, heat 1 tsp oil over medium-high heat until shimmering. Add onion and cook till translucent, 6-8 min. whisk in broth and ½ and ½ and bring to a simmer for 2 min. Remove from heat and whisk in shredded cheese, a handful at a time, till melted. Stir in cooked noodles, tuna mixture, peas and ½ tsp salt and ½ tsp pepper (to taste).

4.       Transfer mixture to casserole or baking dish. Toast panko breadcrumbs in small pan with melted butter and sprinkle on top of casserole. Bake until sauce is bubbling around edges, 12 to 14 min. Let cool slightly before serving. 


toasting breadcrumbs with butter to top it


Sunday, August 10, 2014

Carrot Muffins


Yes, I have made carrot muffins before (with a recipe for carrot cake, see it here) and those were YUMMY but these are… I don’t know, different? Take my word for it, you want to make these. AND you can eat more because they are even better for you than my previous version. ½ whole wheat flour! Just over 200 cal each! Your whole house will smell amazing, and when they are hot just out of the oven, there is NOTHING like them. What are you waiting for? Try these NOW!!!


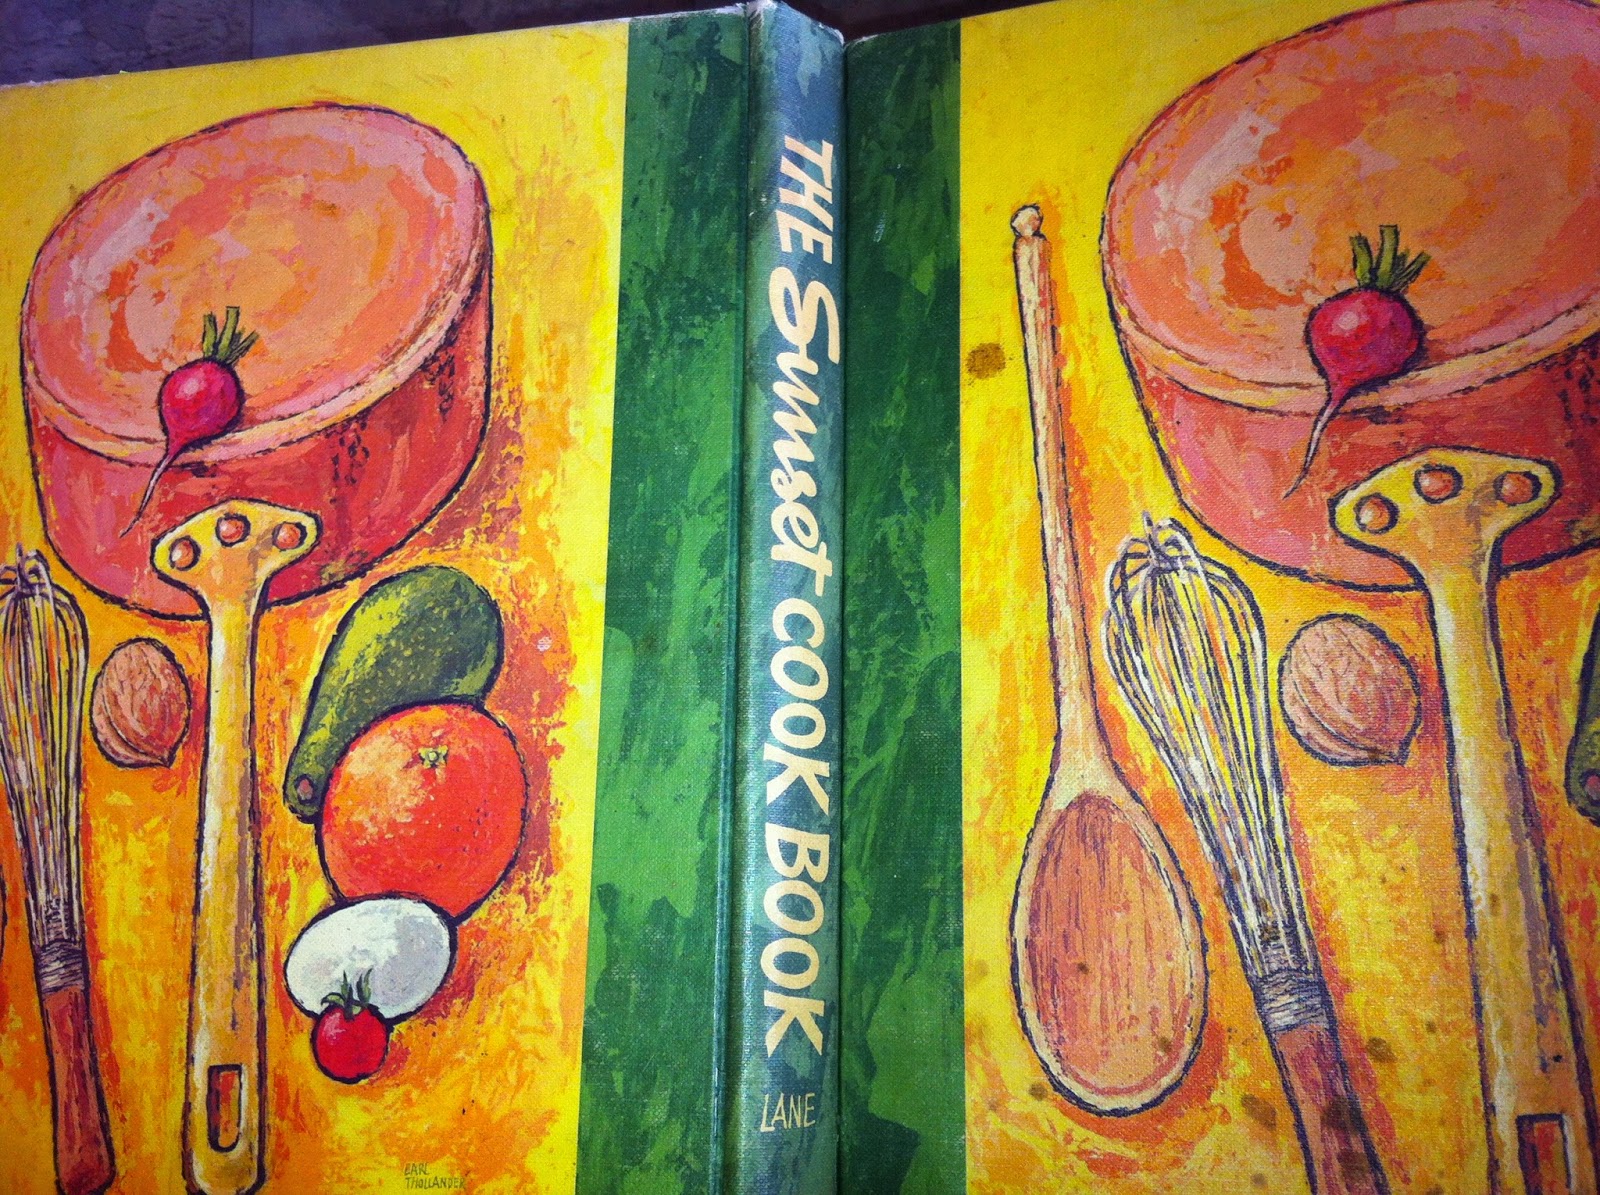
I saw a version in the new Sunset Magazine (yes, I do read it as well as collect the old books!) for “Miracle Carrot Muffins” and it reminded me of an old recipe from 1960’s “The Sunset Cookbook” in particular because I wanted to make healthy carrot muffins, but I hate raisins. I recalled a yummy recipe for Prune Bread, but… well, we’re not always in the mood for prunes, I get it. Instead, dried cherries. And while they sound great with cream cheese and orange zest, you seriously do not even need that. Seriously.
This prune bread is really good, but these muffins are perhaps more "accessible"


The technique is the same: soften the dried fruit in hot water, but this new version is easier and (shocking) you don’t even need a mixer. Got totally off the grid, man!

Grating carrots smells SO GOOD! but... use a food processor, duh!

No mixer, just "whisk" the flours. OK.... 

Softening the dried fruit while melting the butter - this smells HEAVENLY and very fall-like. Who needs scented candles???

Going into the oven...


Ingredients:
1 1/3 cups sugar
¼ cup butter (in you want to make these vegan, use margarine)
1 ¼ cups shredded carrots (food processor, hello!)
1 cup dried cherries (or raisins, eww)
1 tsp. each salt, cinnamon, and ground allspice
¼ tsp. ground cloves
1 cup each all-purpose and whole wheat flour
1 tsp. each baking powder and baking soda
4 oz cream cheese
1 Tbsp. orange zest

Method: 
1.       Preheat oven to 375 degrees. Put sugar, butter, carrots, raisins, salt spices and 1 1/3 cups water in a medium saucepan. Heat over high heat, stirring occasionally, just until mixture comes to a boil.
2.       Whisk flours, baking powder and baking soda together in a medium bowl. Pour in warm carrot mixture. Stir to combine, but do not overmix.
3.       Spoon mixture into greased muffin cups.
4.       Bake until browned and a toothpick comes out clean, about 15 min. Let cool on a rack.

15 min later = YUM!


5.       Blend cream cheese with zest and serve with muffins (optional)

Wednesday, July 23, 2014

Grasshopper Pie x 2


Summer – it just screams pie, right? The call is too loud to disregard, clean eating efforts be damned. My excuse is, when I make a pie and take it somewhere, at least it won’t be in the house so that I am tempted to eat the whole thing. Plus, the purchasing of bizarre, mystery liqueurs to make a dessert is half the fun! Take it to a party and make other people eat it! Yeah, that’s the ticket…


There are many versions of Grasshopper Pie (including one made with ice cream which I did not try), but I naturally gravitated first to one made with Jell-O, my eternal love – that most versatile of sugary powders. I will share it with you, but I warn you – it’s not the best. It is entirely too sweet, and It has to be mixed with Cool Whip, for heaven’s sake. Yuck! Why did I think *that* would taste good? Cool Whip – something I had only heard about until I began recreating vintage recipes for this blog, something I didn’t even know where to find in the grocery store. (Tip: you find it in the freezer section. And it’s strangely weightless. And tastes of chemicals.) Still, this is the first version of the pie that I made, so here is the recipe, from 1988’s “Jell-O: Fun and Fabulous Recipes”. Yeah, some are more fabulous than others…


Looked great, but too sweet. Plus, shame on me for not making my own pie crust!


Next, I turned to a more trustworthy source, my Betty Crocker Cookbook from 1969. Thank you Betty for relying on the old stand-by, melted marshmallows, to create the filling in the pie! And remarkably, other than the marshmallows, Oreos and food coloring, this version of grasshopper pie is made with actual real ingredients – things I know! That are not highly processed! I had a good feeling about this.


First: the crushing of the Oreo cookies to make the crust. Yes, you could use chocolate wafers but I was making this pie for a party at my Dad’s, and the local store didn’t have the right kind. So, crush up Oreos (Fun! Place them in a plastic bag and go to town with a meat tenderizer! BANG!), then mix with ¼ cup melted butter, form in the pie dish and bake for 20 min, then chill.


The only thing tricky about this pie is that there are several steps and each one requires
chilling before and/or after. It doesn’t take long to put together, but the overall time will be a few hours  because of chill time. So plan to, you know, chill, between steps.


I succumbed to lure of green food coloring, essentially because it is an amusing novelty to prepare food that is green, but honestly you don’t need it – the crème de menthe provides a green tint. And speaking of food that is green, after these two pies, my next experiment was with another green pie, featuring a secret ingredient that provided the color and consistency: avocado! However, that is a story for another time. Spoiler: it is NOT something I will be making again. I’m kind of thinking of going back to fruit pies…


"The Best"? DON'T BELIEVE THE HYPE. This is a lie. Sorry...

Sunday, June 1, 2014

Poppy Seed Cake

Tasty even with no frosting! 


Do you ever crave a taste from childhood that you just can’t find anywhere? For me, it’s my mother’s poppy seed cake, and I found it in the adorable “Hasty Lady Cookbook” from BEST YEAR EVER IN THE HISTORY OF MANKIND, 1971 – thank you, League of Women Voters of Illinois!


My favorite cookbook ever in terms of format. I love 1971!


Now I know you’re thinking, but Carrie, you’re always saying you don’t use mixes and packaged foods are gross – and you’re right. But there are times when you’ve got to eat that foot that’s in your mouth if you want to eat cake. So there you are.

Don't you love how I have the organic eggs to offset the cake mix?


This cake calls for cake mix and Jell-O pudding mix (Hah! My one processed food go-to, Jell-O! My eternal love!) and then some pantry staples, including “Butter-flavored oil” – WHAT THE HECK? I’m sorry, I don’t know what that is and I don’t want to know what that is. Let’s just go with vegetable oil, how ‘bout. Oh and cream sherry – is just a nicer quality than “cooking sherry” which, if you’ve talked to any chef, isn’t good enough to clean the toilet with anyway.

Going into the oven - soon it will smell REALLY GOOD!


Finally, this cake is nice and moist even with no glaze, though the glaze is a nice touch. If you want to make it look fancy and French-ify it, shake some powdered sugar over the top with a sieve and stick a sprig of mint or edible flower next to the cake et voila, nobody knows it came from a mix! Enjoy.


Poppy Seed Cake

1 pkg (18.5 oz) yellow cake mix
1 pkg (3.75 oz) instant vanilla pudding mix
4 eggs
1 cup sour cream
½ cup butter-flavored oil
½ cup cream sherry
1/3 cup poppy seeds

Combine all ingredients, stirring to blend. Beat at medium speed of electric mixer for 5 minutes, or 700 strokes (!!!) by hand. Scrape sides of bowl frequently.
Pour into greased 10 inch bundt pan. Bake at 350 degrees for 1 hour. Cool in pan for 15 minutes; turn out on wire rack. Cool

If desired, glaze with thin confectioners’ icing flavored with cream sherry.

Sunday, March 9, 2014

Lemonade (Silver Palate)


I don’t think I even need to repeat the adage about what to do if life gives you lemons, because in this case it was my boss who gave them to me! He actually has a very productive tree right here in San Francisco, and I am overjoyed when he brings me bags of lemons, especially today because I had a bake sale / fundraiser for my daughter’s school (Harvey Milk Civil Rights Academy in the Castro) and so I volunteered to bring lemonade. Good thing, too, because it was a rare hot day in the city and we drank that up like there was no tomorrow!
Here we are in San Francisco's lovely Dolores Park where we raised nearly $200 to send the 4th graders to camp, yay!

This lemonade is the best you will ever taste, hands down. Don’t even bother with any other recipes. Just don’t. My mom taught me this one, from her (and now my) favorite cookbook of all time, The Silver Palate Cookbook - the 1982 masterwork from Sheila Lukins and Julee Rosso, and I guarantee you will have people exclaiming in the street that it is the best thing they have ever tasted. 


The only thing I ever adjust is the tartness. I love it very very tart, but when I make it for kids I do add more sugar. And you want to use super-fine (Baker’s Sugar) because it dissolves so easily. Get some lemons and get happy!
 My daughter ladling out cups for thirsty park goers. Isn't she proud!
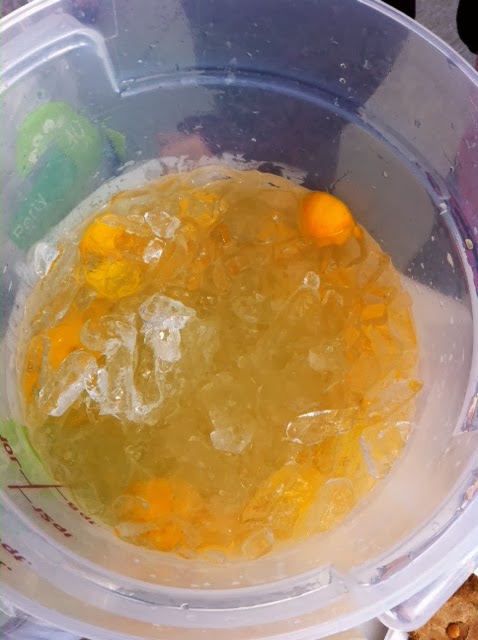
I always add some cut up lemons for looks, especially when using an (otherwise un-chic) industrial vat.

Sunday, March 2, 2014

Quick Chocolate Cake


I love cake. OHMYGOD do I love cake. And I'll be honest, this is not the best cake ever, but when you just WANT CAKE (and come on, we all know there are times when nothing will do but cake!), this is FAST and YUMMY. Why buy a mix when you can literally throw things into the baking dish itself, bake for 20 minutes, and then happily scald your tongue on home-made cake? I couldn’t say.

Susan Katz’s brilliant 1978 “Just Desserts – Fast but Fancy” is one of my favorites. She has so many ideas that I would like to quit my day job to cook each and every one of them… well, I can dream, right? She even has a chapter entitled Desserts for Dinner. (She has also written a book called “100 ways to use yogurt besides eating it out of a container” – LOVE her to death!). When the sudden NEED FOR CAKE struck me, I turned to her and she did not disappoint.


This recipe – better than cake mix, I swear – is fun in that you mix it right in the baking dish. Seriously people, you are going to have cake SOON, and barely any dishes to wash! GET ON THIS! Even kids can do it, in fact it is perfect for them. Don’t have a mixer? Or are you just lazy? Who cares. YOU can make cake.

The only trick is that she’s not kidding when she says “There must be no delay in baking after adding vinegar” because that will activate the baking soda, and if not baked right away, the cake won’t rise. So be sure to have all your ingredients out in advance. This is as good a way to reinforce the practice of mise-en-place if I ever knew one! There: justification for baking cake: to teach yourself the importance of proper kitchen prep. (Not that you needed any justification.... )
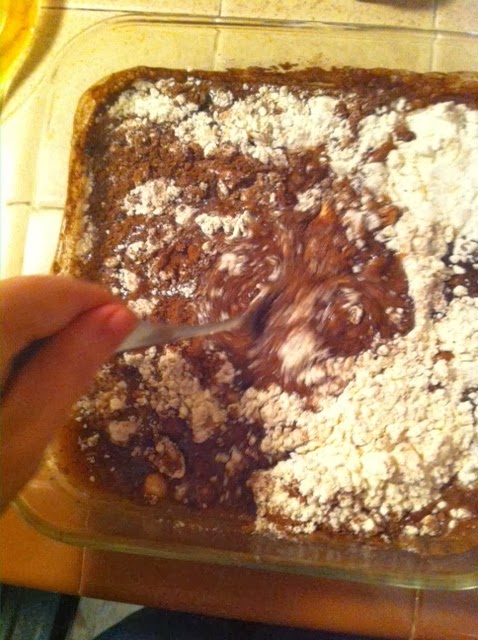
 Dump in the ingredients!
 Mix well - and get into the oven IMMEDIATELY once the vinegar is stirred in!


You can frost this cake with just about anything, or heat up a nice glaze of chocolate, butter and a little grand marnier, or perhaps whisey and black cherries…. Possibilities are endless. You’re welcome. 

Sunday, February 23, 2014

Whole Grain Wheat Pancakes


Who doesn’t like pancakes? Sunday mornings I pretty much always make pancakes or their cubist friends waffles – unless I’m getting fancier with a soufflé or something. But pancakes! Other than the occasionally interminable flipping, they are easy and can even be healthy. Witness:  this recipe with actual whole wheat. Drown in it enough syrup, and you won’t even know it’s good for you!


I always look for new recipes and since I have a new blender (I have a problem with blenders. I have blown up the motors in about 7 so far…) I turned to my trusty 1967 gem, the “Miracle Blender Cookbook - The Fine Art of Modern Blending” by  “Tested Recipe Publishers”. These nameless Testers were willing to put blender mechanism to the test with whole wheat (or wheat berries, as my grandmother called them) and I did too. After quite a lot of motor screaming and the faint smell of smoke, I will say the texture was rather charming. I might go back to my fave recipe which uses whole wheat flower, but for an interesting change, get out your power mowers – I mean blenders – and try this one!

Above: still life from the book (1967) Mine is not so far off, but sadly I am lacking sheaves of raw wheat. Aww shucks ;)


Naturally pancakes are yummy for breakfast, but if you have leftover batter (and this recipe will give you plenty so you will) just flip them up now and save for later. A delightful snack later with peanut butter, or butter and jam for dessert, or even with meat and veg with dinner! Come on, get creative (man)!

 Look, I even sifted the flour! (Cheater admission: often I just fluff it around with a fork.) But not when I MEAN BUSINESS:
On the Griddle!